

How do I use images as options for my products?
The CMS lets you combine image galleries with products to create a system that lets the customer choose a variant of your product from a collection of images. This is ideal for items that come in different colours or textures. It's also ideal for selling photography prints where each item is the same price but there are lots of different images to choose from.
Products can also have choices applied to them in conjunction with the gallery. This lets the customer choose an image along with another option. The option can include a different price. For example, you could create a 'photo print' product that has different sizes (with different prices) and a gallery to allow the selection of the image. Learn more about adding multiple choices to products.
This article assumes you have already created a product and added it to a page.
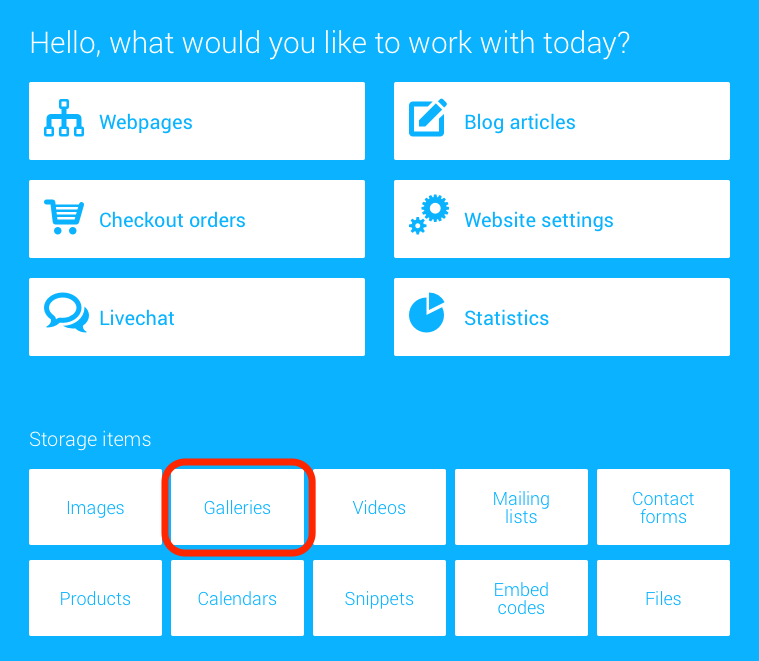
1. Click 'Galleries' from the Welcome Screen
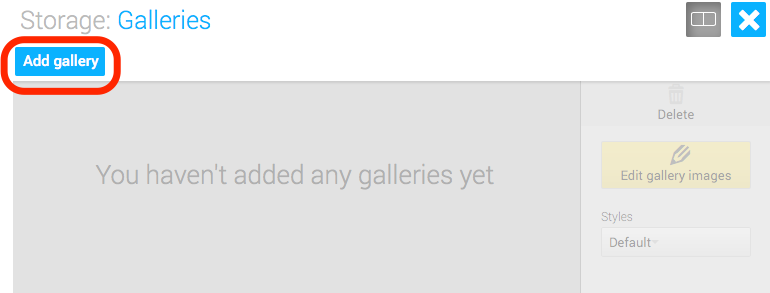
2. Click Add gallery, type a name for your gallery and hit enter to add it
Use a name that will help you remember that this gallery is used as image choices for a product. This name of the gallery is not shown to visitors.
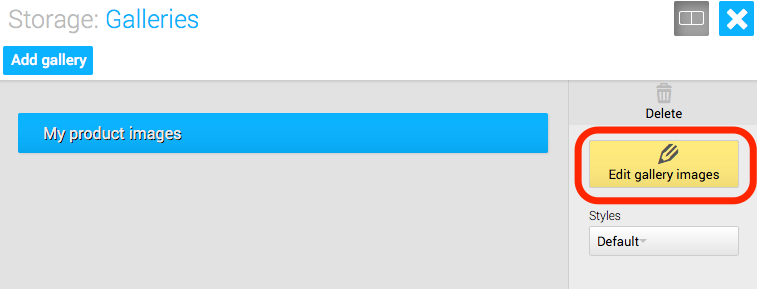
3. Click 'Edit gallery images'
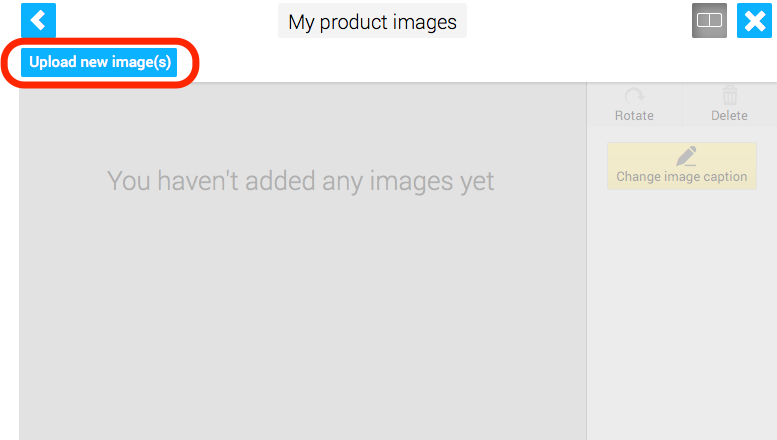
4. Click 'Upload new image(s)' or drag images to the grey space to upload images for your gallery.
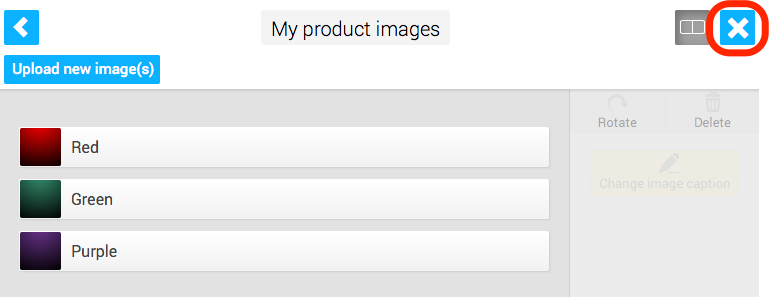
5. Once your images are uploaded you can change their order by dragging, double click to rename the caption, or click 'Rotate' to the rotate the images. When you're ready, click the blue 'x' to return to the welcome screen.
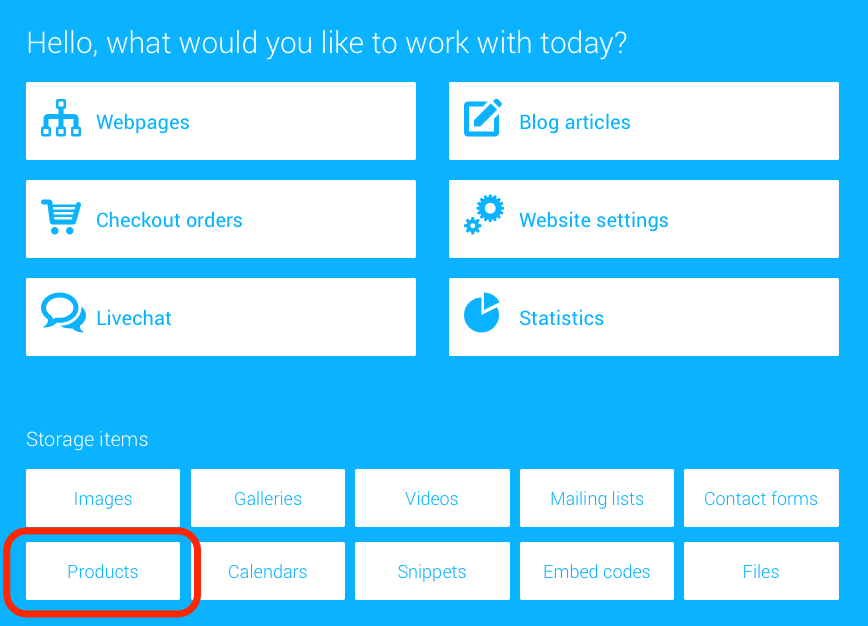
6. Now that you've created your gallery of image choices, you can associte it with your product. Click Products from the Welcome Screen.
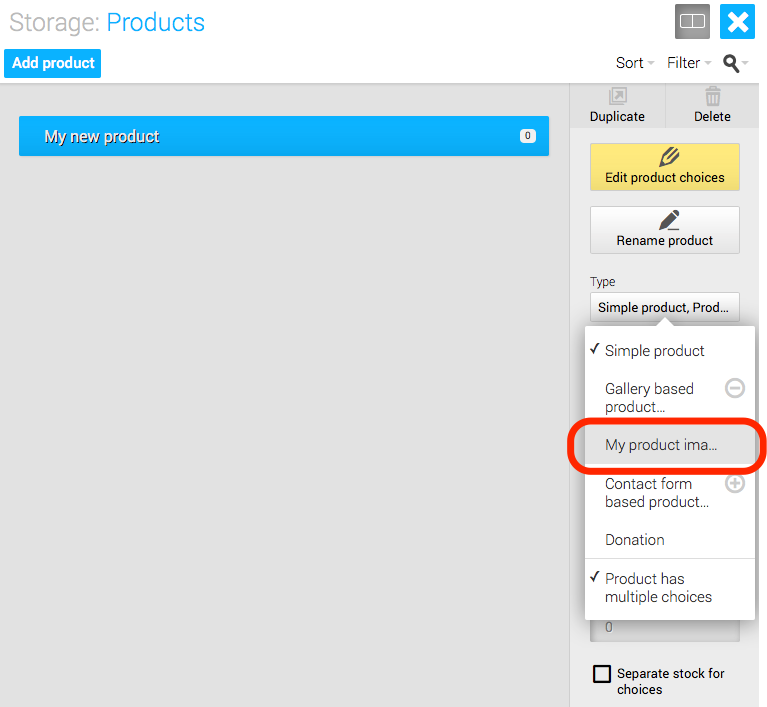
7. Select your product, click the menu under 'Type', expand the 'Gallery based product' menu and click your image gallery in the list.
The product will now display along with the image choices and visitors will need to choose one of the images to add the product to their basket.